Learn blouse cutting and stitching at Maker’s School
The blouse is the garment that most clearly shows the skill of a tailor: it has to fit closely, sit well on the shoulder and lie smoothly at the armhole. That is why learning to cut and stitch a blouse properly opens the door to most home-based and boutique tailoring work.
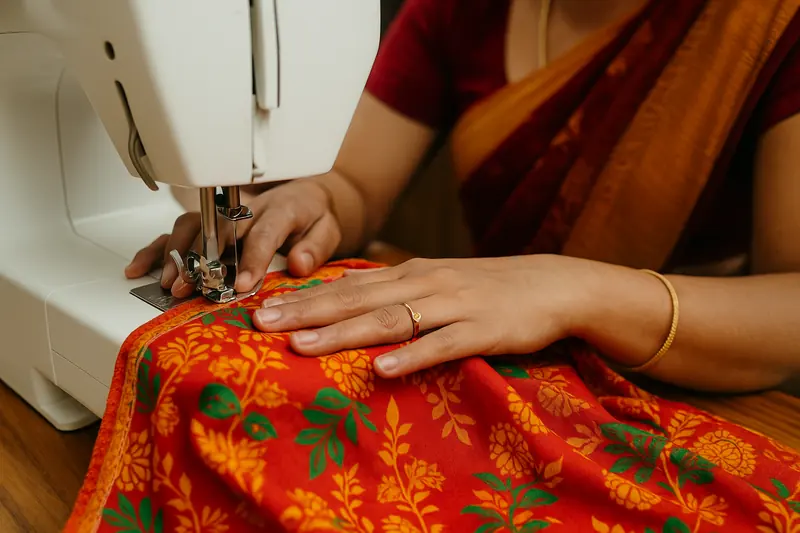
At Maker’s School you learn blouse making inside the Regular Tailoring Course. You take accurate body measurements, draft simple blocks and adapt them for blouses, kurtas and skirts, then stitch a simple blouse with correct dart placement, fitting sessions and a professional finish. The same course includes a basic kurta, so you also learn kurti cutting and stitching.
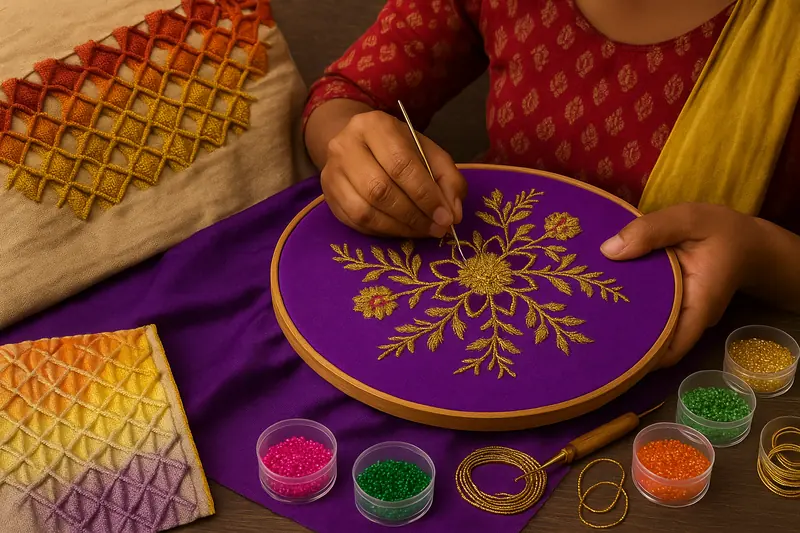
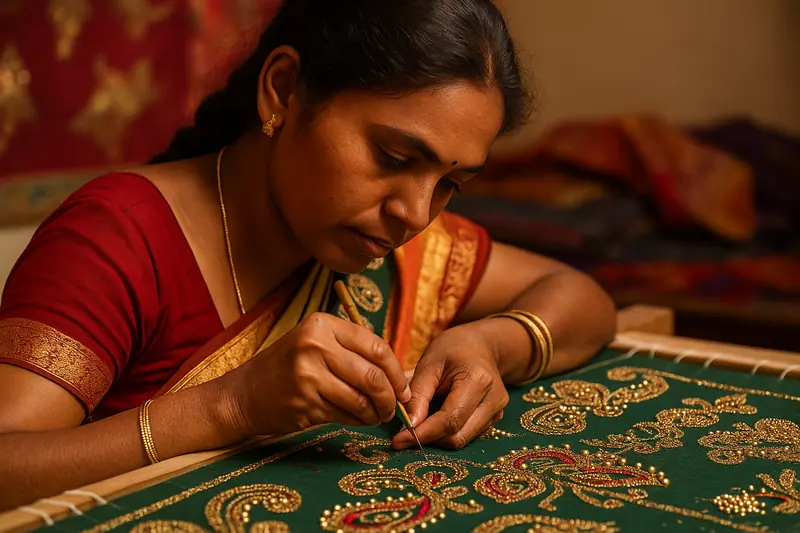
When you are ready to make blouses that stand out, you can add Aari Work (also called maggam work) or Hand Embroidery, both of which include a blouse-panel project.
How a blouse is made: the steps
Whatever the style, a well-made blouse follows the same sequence. This is the order you work through in class, on your own machine and cutting table.
- Take measurementsBust, waist, shoulder width, armhole, sleeve length, blouse length and the depth of the front and back neck. Accurate measurements decide how well the finished blouse fits.
- Draft and cutDraw the pattern pieces from the measurements, add seam allowances, and cut the fabric along the correct grain.
- Shape with dartsDarts shape the fabric around the bust and waist. Their position is the biggest factor in a good fit.
- Stitch the blouseJoin shoulders and side seams, set the sleeves, finish the neckline and armholes, and add the hook, zip or button closure.
- Fit and adjustTry the blouse on, check the armhole, bust and back, and make adjustments before final finishing.
- Press and finishPress seams flat, trim threads and add trims or lining for a clean boutique finish.
Blouse styles you will hear about
Customers usually describe a blouse by its neckline, back design and sleeve. Knowing the common names makes it easier to understand a design and quote for it:
- Necklines – round, boat, U-neck, V-neck, square and collar styles
- Back designs – deep U or V backs, keyhole backs and tie-up (dori) backs
- Sleeves – sleeveless, cap, short, elbow-length and three-quarter
- Construction – plain, padded and princess-cut blouses
Ask us on WhatsApp which styles are being practised in the batch you plan to join.
Which course for which blouse goal?
| Your goal | Course | Fees |
|---|---|---|
| Learn to cut and stitch blouses and kurtis | Regular Tailoring | ₹500 admission + ₹2,500/month |
| Make aari or maggam work blouses | Aari Work (Basic & Advanced) | ₹12,000 full course |
| Embroider blouse panels by hand | Hand Embroidery with Smocking | ₹7,000 full course |
| Design bridal blouses and outfits | Specialization Course | ₹500 admission + ₹4,000/month |
| Sketch blouse designs and mood boards | Fashion Illustration | ₹10,000 full course |
Tips for a blouse that fits well
- Measure over the undergarment you will wear with the blouse, and stand naturally.
- Keep the dart point slightly short of the bust point for a smooth, flattering shape.
- Check the armhole depth – too tight restricts movement, too loose gapes.
- Press every seam as you go; pressing is half of a professional finish.